On Raspbian Bookworm OS the pip install commands can not be executed right away from the current user prompt. We need to run virtual environment first (venv) on our raspberry pi os, download the pip package and install it there, login as root user and then install it again globally so pi user also can access it.
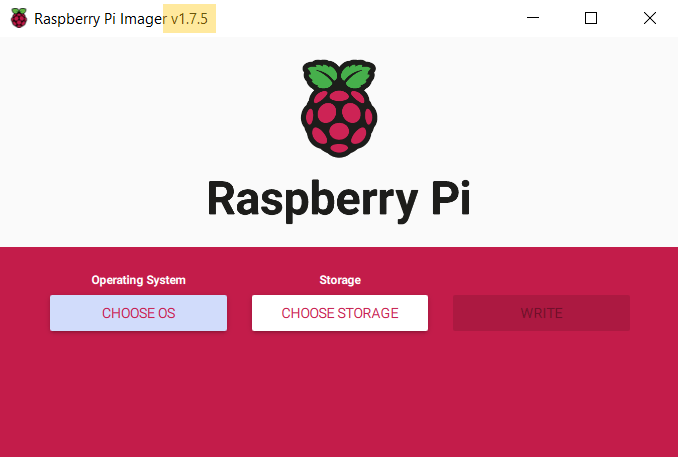
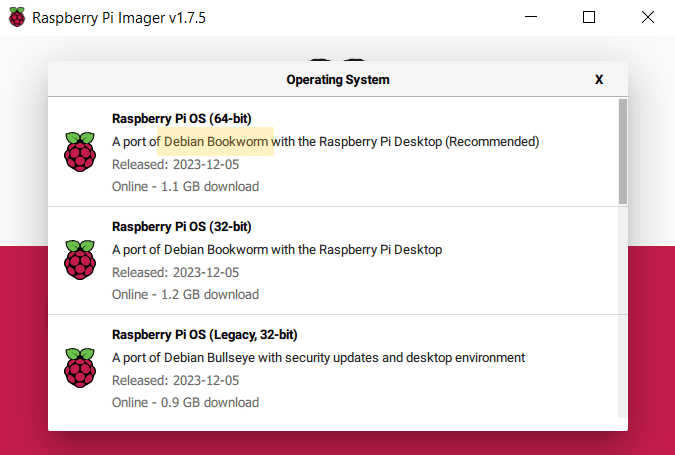
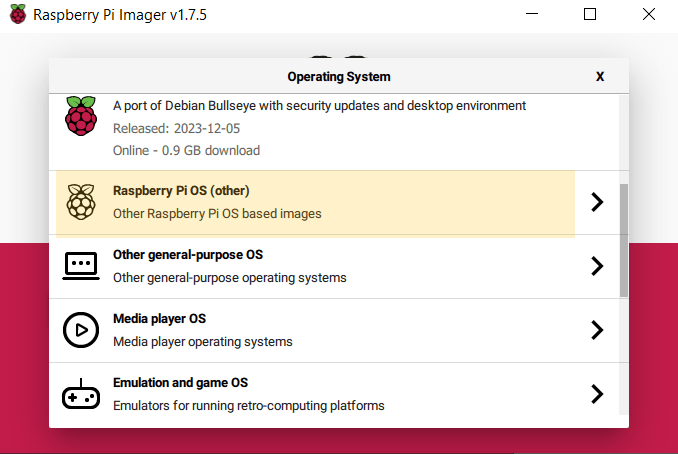
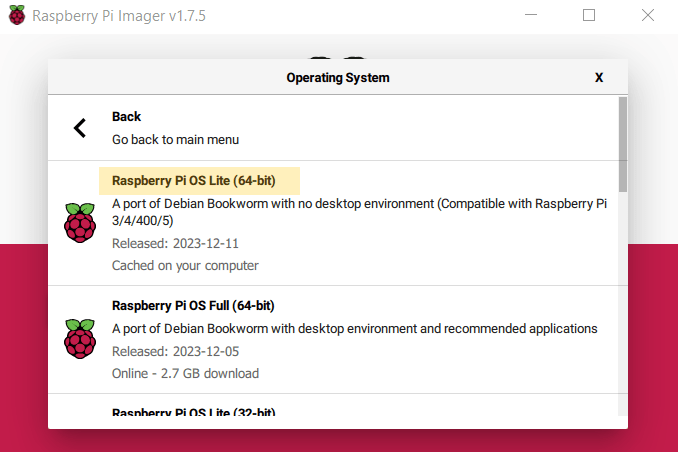
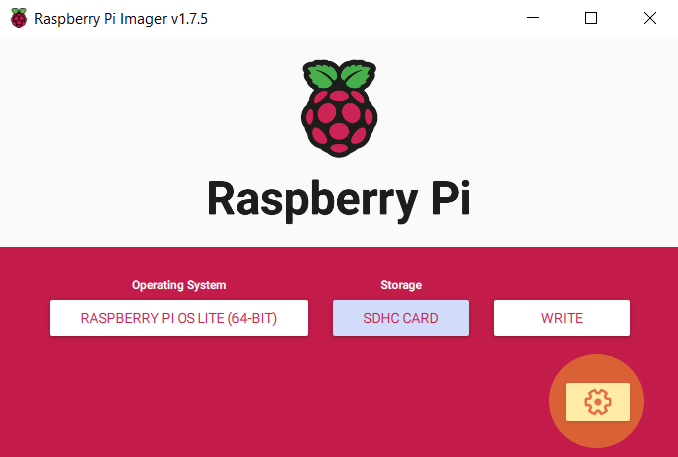
But first we need to prepare the OS. Run Raspbian OS imager, select Raspberry PI OS (64 bit) Debian Bookworm version as seen on picture below.

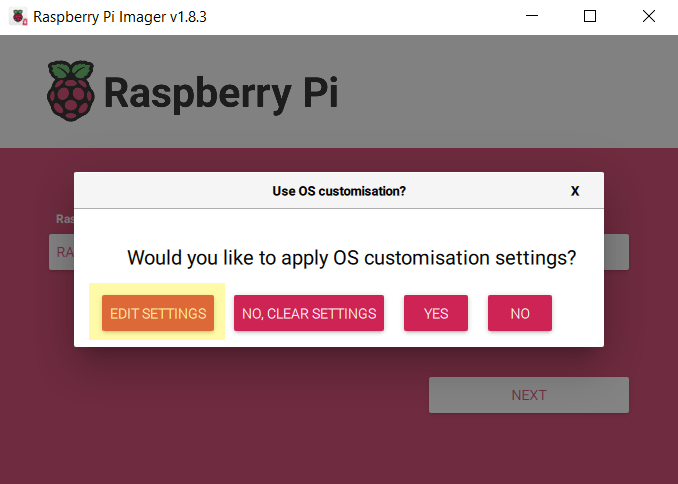
Because we are going to access our raspbian os via ssh, we need to setup the pi user as well as the WIFI credentials. Click EDIT SETTINGS then YES button.
blah
Just let the default hostname as what ever it is. So with the pi username. You just need to change the password to something easy to be remember like Password123** in my case. You can choose your own. For WIFI credential i am going to let my raspberry pi to connect to my local WIFI hotspot name as WIFI with the same password Password123**. Click Save.

Another dialog window will appear asking for your confirmation. Just click YES button.

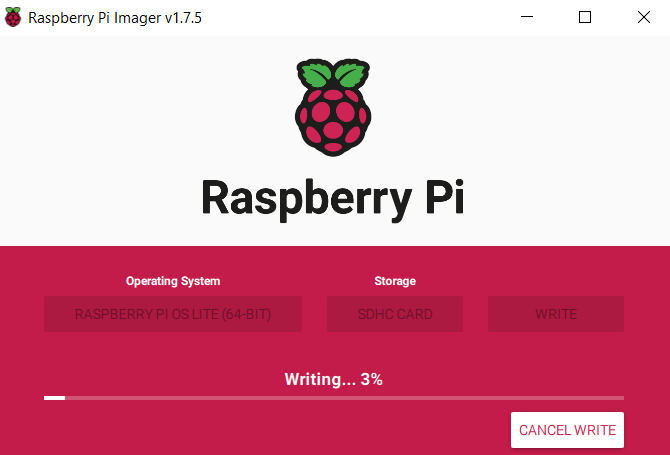
It may takes minutes to complete the process depending the speed of your computer.

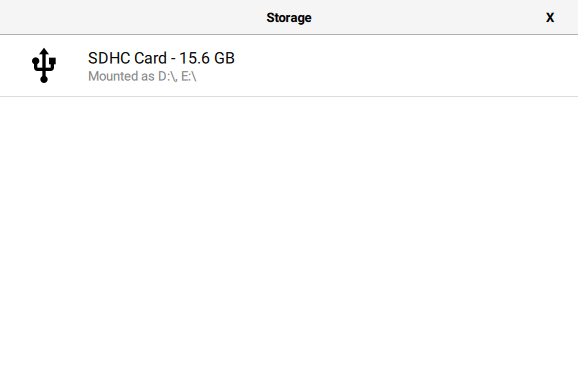
Once the process is completed another dialog window will appear to advice you to remove the sd card from the reader.

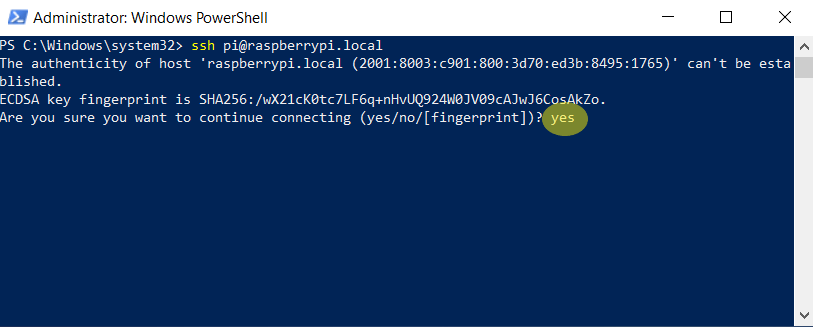
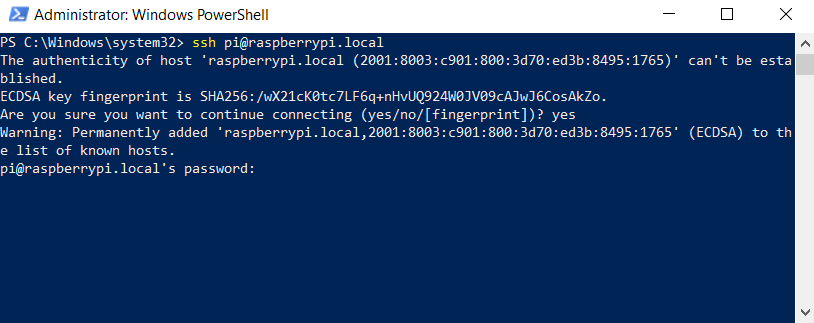
Login to your raspberry pi via ssh. On pi@raspberrrypi prompt, type : pip install pyodbc followed by ENTER. pyodbc is our first library we try to install in this scenario.
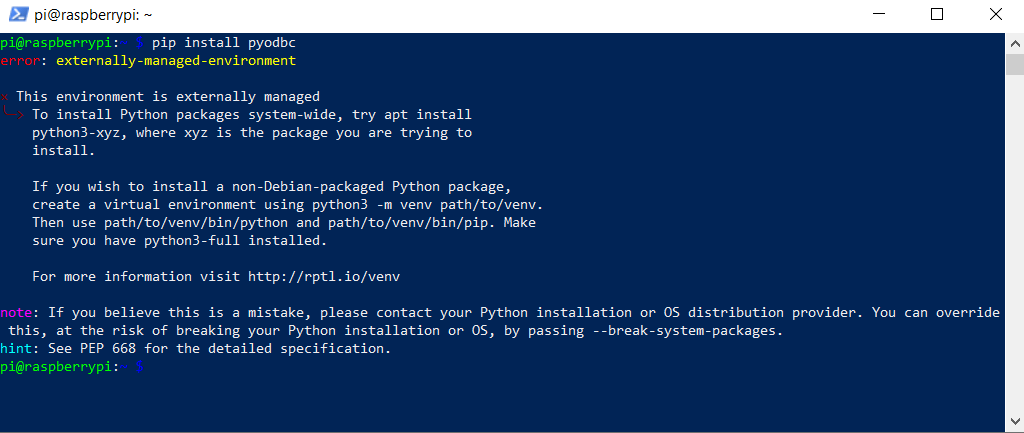
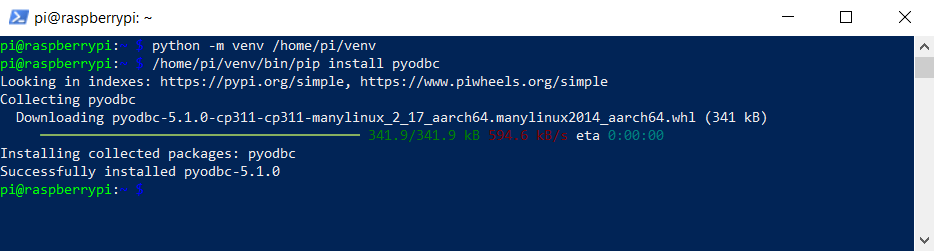
The system returns error message saying error:externally-managed-environment. The rest of the message is description in detail to get the installation right. On raspbian BookWorm version, unlike the apt install command the pip install command must be called on virtual environment. To run the virtual environment you need to type python -m venv /home/pi/venv followed by ENTER. After that type /home/pi/venv/bin/pip install pyodbc followed by ENTER.
After the pyodbc library is installed on virtual environment, we need to install it to our root as well so our pi user can access it. On pi@raspberrypi prompt type apt search pyodbc followed by ENTER. It finds out the pyodbc package has been saved as python3-pyodbc.

Back on pi@raspberrypi prompt type sudo su to switch to root user. On root@raspberrypi:/home/pi# prompt type apt install python3-pyodbc followed by ENTER.

The prompt may ask your confirmation to continue or not, just type Y followed by ENTER.
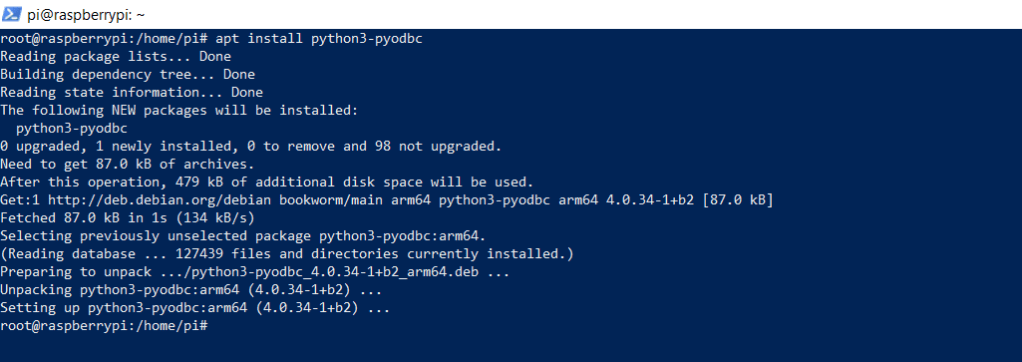
Type exit on the prompt to go back to pi@raspberrypi prompt.

In order to test if our pi user now has access to pyodbc library or not, we need to run the python command to import that library. On pi@raspberrypi prompt type python followed by ENTER.
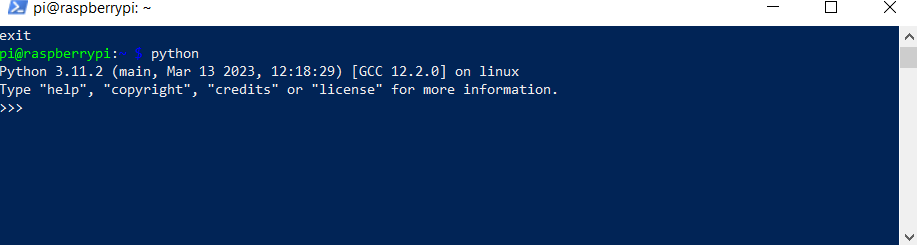
Once the python >>> prompt appears, type import pyodbc followed by ENTER. If there is no error happens that means our pi user now has access to pyodbc library.

Now you can follow the same steps above to install other pip libraries. To exit python prompt, just type exit() followed by ENTER. You will get back to pi@raspberrypi prompt.