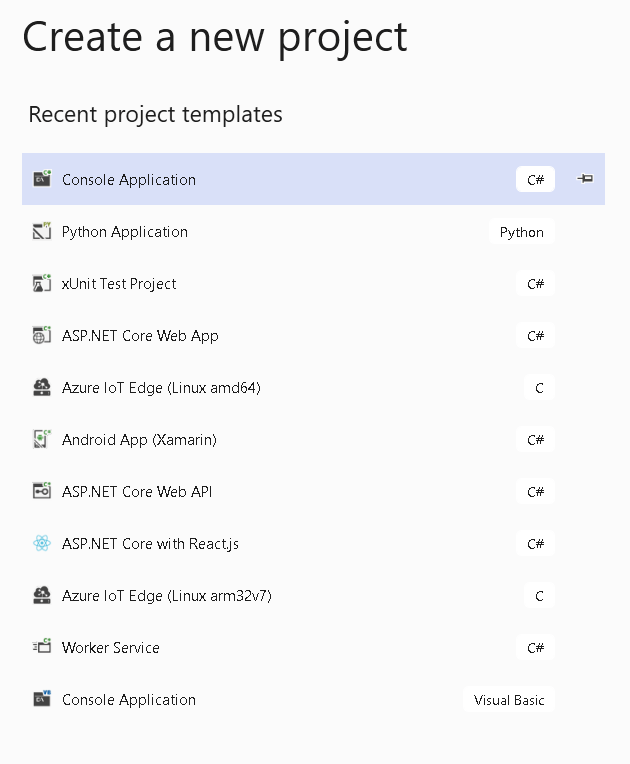
Open your Visual Studio then select Create a new project.

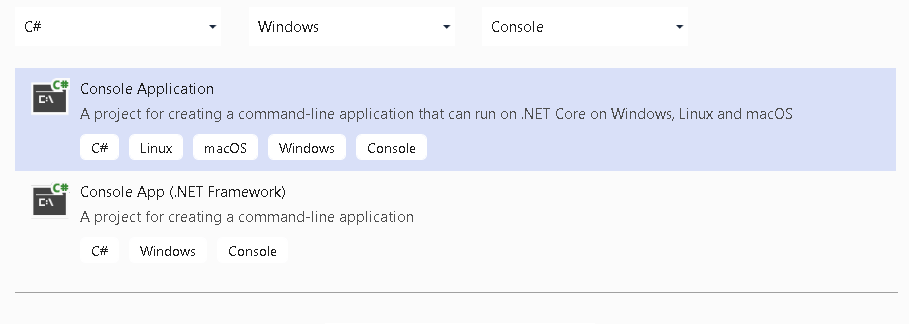
Select Console App.

Name our new project GetAppSettingJsonValues.

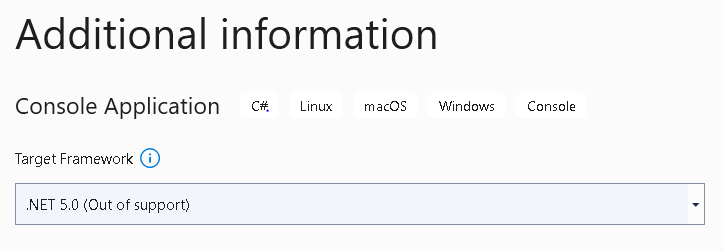
For the Framework, i choose .NET 8, because that is the only .NET version i do have on my computer. You might want to choose other version.

Click Create button. A window with two panels will be opened side by side. The right panel is Solution Explorer as you can see below. By default the .NET CORE console app will generate Program.cs file for you.

The left panel of the window is for editing Program.cs. If you are on lower version of .NET CORE, you may still get the Main() static method as a pregenerated code. Because i am on .NET CORE 8, the format has changed or simplified like seen below.

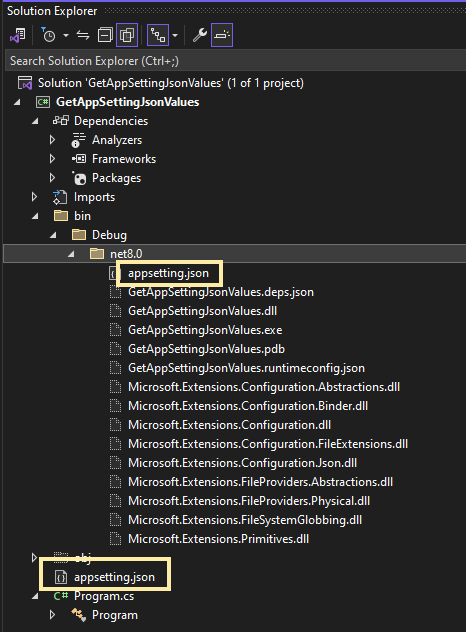
Go back to Solution Explorer panel again, right click your mouse on the project name and select Add, New Item, Text File, change the name of the file to appsetting.json followed by clicking Add button.

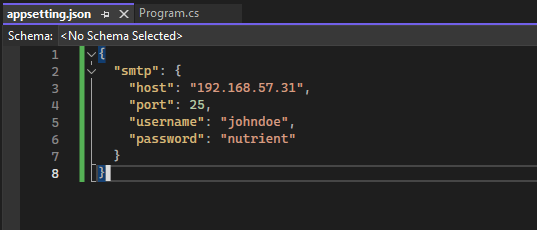
On the left panel of your window, your new appsetting.json is opened and copy the following json data into that file.
{
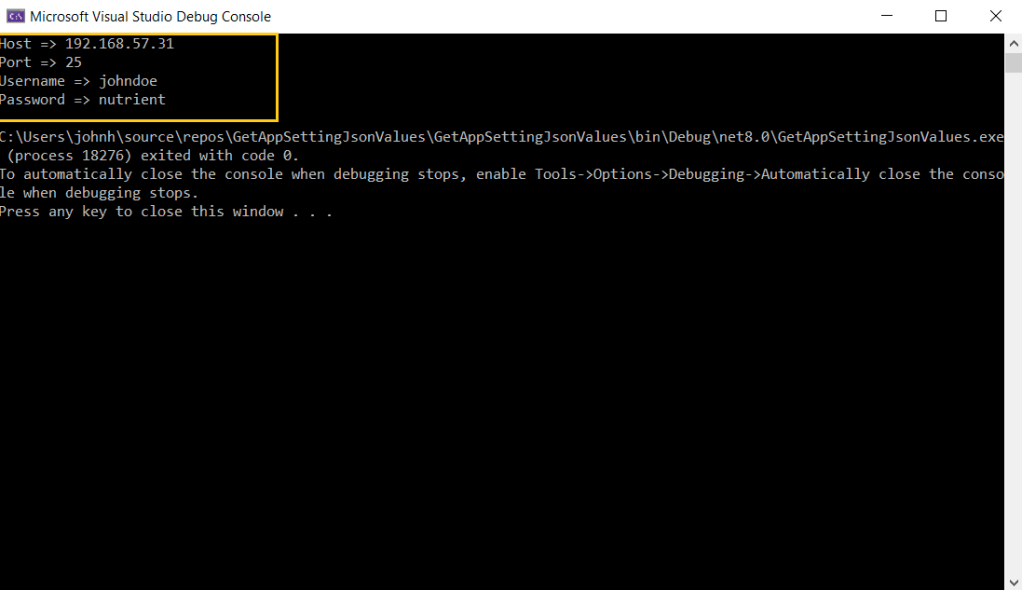
"smtp": {
"host": "192.168.57.31",
"port": 25,
"username": "johndoe",
"password": "nutrient"
}
}
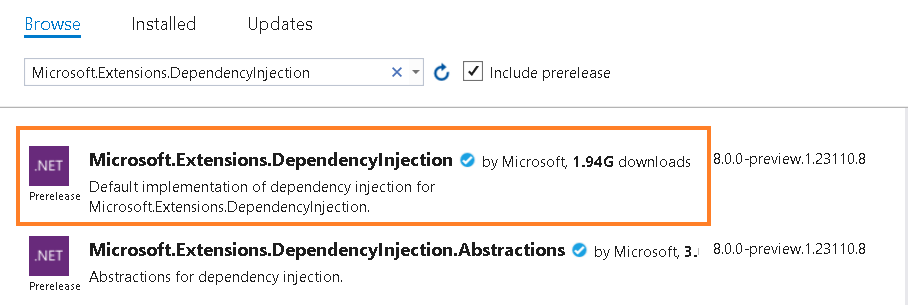
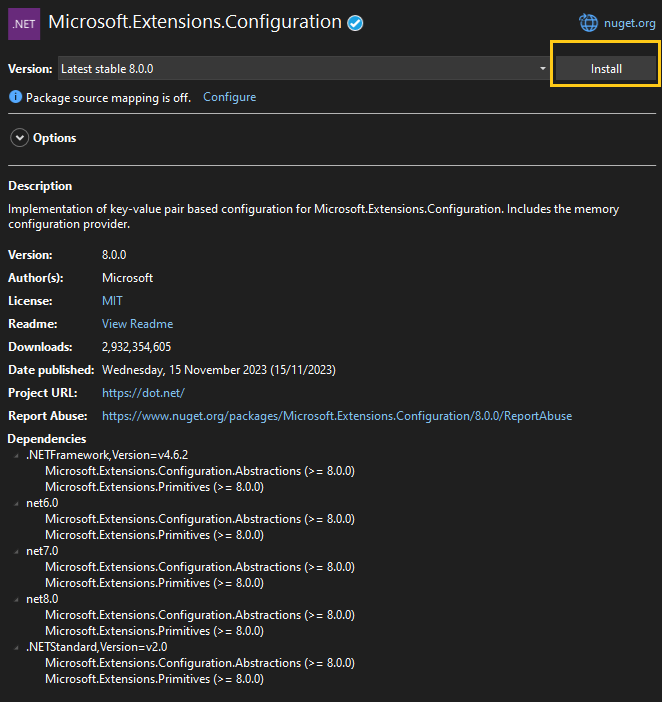
Select your project name on Solution Explorer panel. Right click, select Manage Nuget Package. A nuget package manager window will appear on your left panel. Click the Browse tab. and type Microsoft.Extensions.Configuration on the search text box. You would see Microsoft.Extension.Configuration package on the search result. Select that package and install it to your project.
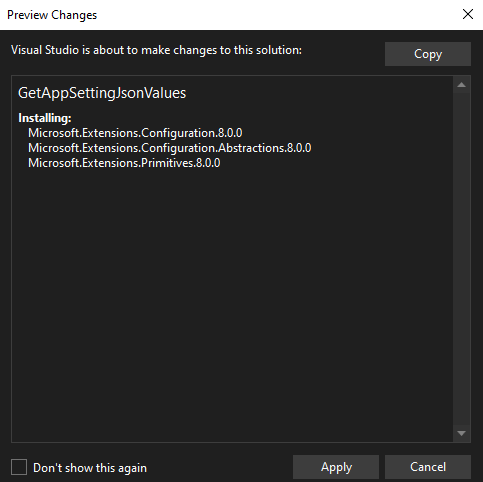
You need to click Apply button to confirm your package installation.
The next package you need is Microsoft.Extensions.Configuration.Binder. You need to repeat the process. Type that package name on search text box, select it from the search result list and then install it.

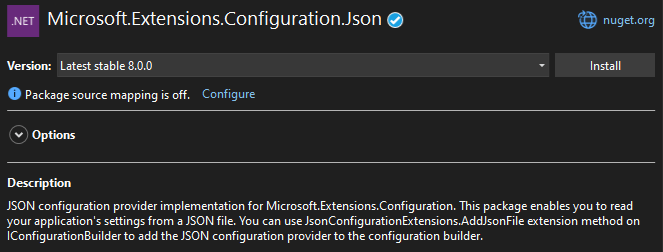
The third package you need is Microsoft.Extensions.Configuration.Json.

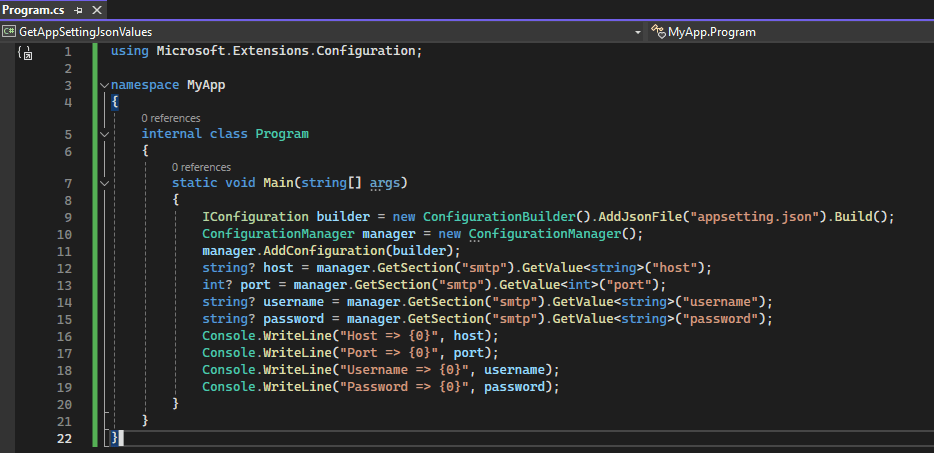
Copy the following C# code below to Program.cs file on the left panel of the window.
using Microsoft.Extensions.Configuration;

namespace MyApp
{
    internal class Program
    {
        static void Main(string[] args)
        {
            IConfiguration builder = new ConfigurationBuilder().AddJsonFile("appsetting.json").Build();
            ConfigurationManager manager = new ConfigurationManager();
            manager.AddConfiguration(builder);
            string? host = manager.GetSection("smtp").GetValue<string>("host");
            int? port = manager.GetSection("smtp").GetValue<int>("port");
            string? username = manager.GetSection("smtp").GetValue<string>("username");
            string? password = manager.GetSection("smtp").GetValue<string>("password");
            Console.WriteLine("Host => {0}", host);
            Console.WriteLine("Port => {0}", port);
            Console.WriteLine("Username => {0}", username);
            Console.WriteLine("Password => {0}", password);
        }
    }
}
On the Solution Explorer, select the project name, right click and select Build. You will see a bin folder being built. This folder has sub folder which named by default based on your .NET CORE version. Because i am on version 8, the sub folder i am getting net8.0.
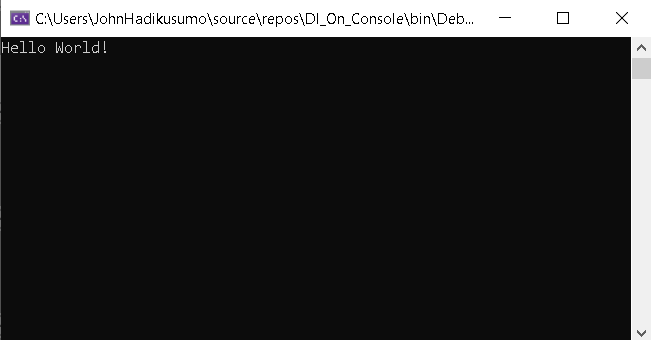
Before we can run our console application, we need to copy our appsetting.json from project root folder to that sub folder. Once you have done it, press F5 to run the application.
You can download the project code from this link.