First thing first, you need to insert your sd card into your computer sd card reader slot. After that download Raspberry Pi Imager from Raspberry Pi website by clicking here. By default the website can detect what OS that is running on your computer and give you default highlighted download button. Because my computer is running on window, so the windows version is the one that is highlighted.

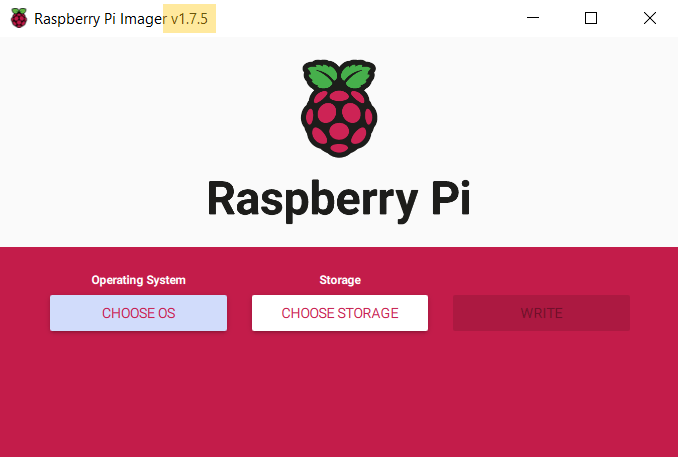
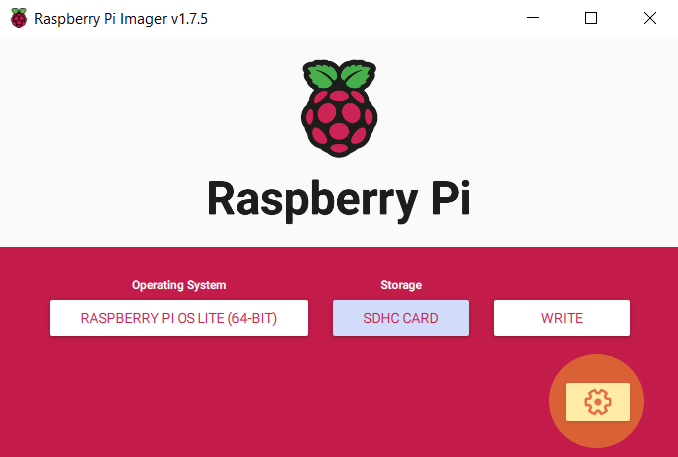
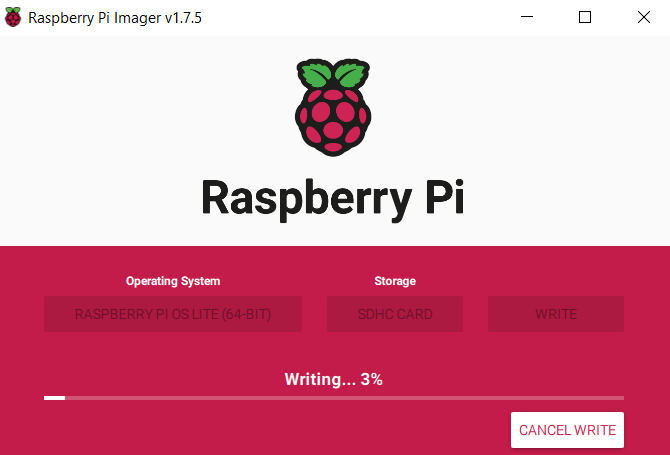
Once the installer downloaded (on my computer it went to download folder), double click to run it. On the pop up window you will see three clickable buttons in series. At the time this article is written, the latest Raspbian OS installer version is 1.7.5.
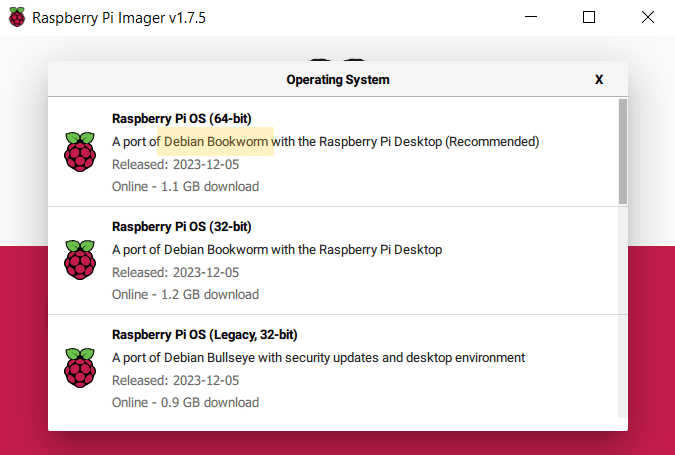
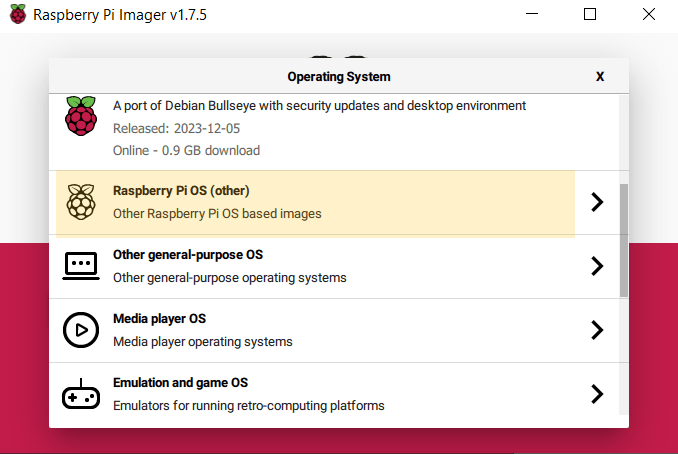
Click CHOOSE OS button. A drop down list will appear to give you a list of Raspberry PI OS you wish to install. It seems Debian Bookworm is the latest version at the time being.
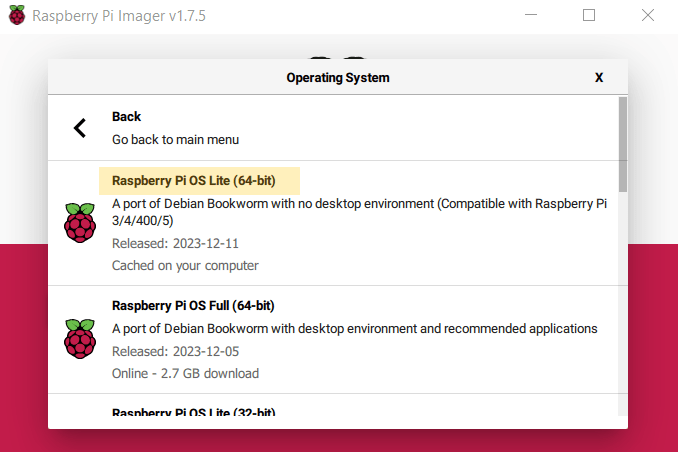
I am going to choose Debian Bookworm with out Desktop because i just want to run the light version without desktop GUI access. So, i scrolled a little bit down and select Raspberry Pi OS (other).
On the next option list, select Raspberry Pi OS Lite (64-bit).
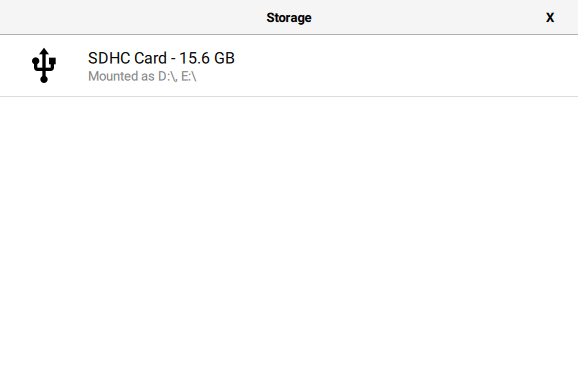
Click CHOOSE STORAGE button. On storage selection list, select Raspberry Pi OS Lite(64-bit)
We need to setup internet access so our Raspberry Pi is able to download all necessary packages from the internet. Click the cork at the bottom right of the window.
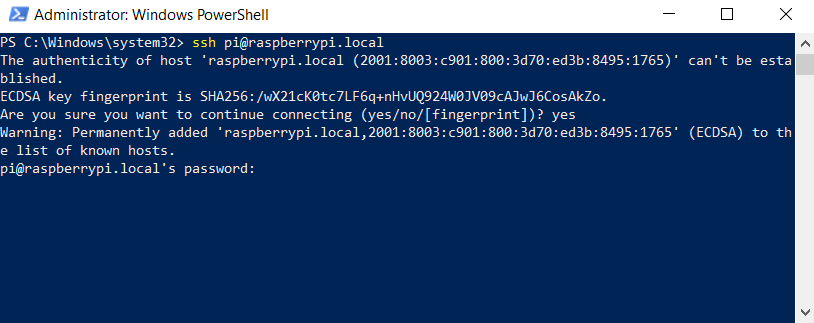
Tick Set hostname. Type raspberrypi on text box. We are going to see this raspberry pi named as raspberrypi.local on our local network.

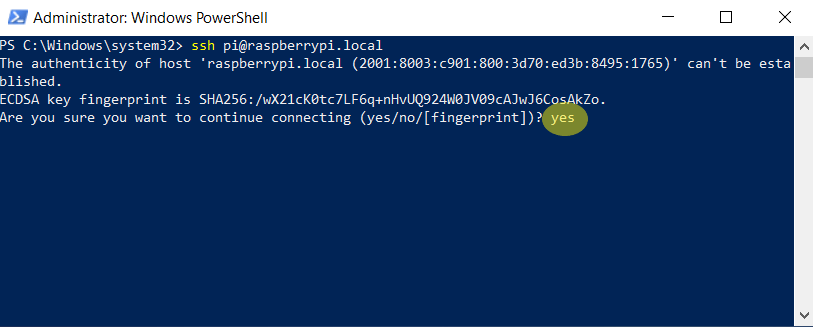
We are going to access this raspberry pi via SSH. Tick on Enable SSH. Select Use password authentication. Then tick on Set username and password. For this exercise i going to use pi as username and pi123** for the password.

This step i want to connect my raspberry pi to my wifi network. So tick on Configure wireless LAN checkbox. Provide your home wifi ssid and the password. For Wireless LAN country drop down options, i choose AU because i am living in Australia.

blah

blah
blah

blah